OVERVIEW/DIAGNOSTICS
The original fans are showing their age and many have been replaced over the years, sometimes with units of questionable quality. DMC and its dealers offer a modern "flat" Cooling Fan/Motor P/N 100415A with quieter operation, excellent airflow and low electrical draw.
These units use the factory original wiring connectors and mount to the factory fan cowling/shroud P/N 100487.
The fans are activated by two different means:
- The water temperature in the cooling system pipe on the driver side of the engine (i.e. where the hot water leaves the engine thermostat going toward the radiator) passes by a coolant temperature switch P/N 100816 (aka "otterstat" in DeLorean-speak). This switch closes when the coolant temp is approximately 210 degrees, and re-opens at about 190 degrees. This switch activates a relay in the electrical compartment that, in turn, powers the fans. The circuit is protected by a 40-amp (35 amp OEM) circuit breaker.
- Activation of the air conditioner compressor, via the low pressure switch on the A/C accumulator behind the right front wheel, also activates the fan relay (there are diodes in the circuit so that turning on the fans does not activate the compressor!). This means that the fans run any time the compressor clutch is engaged, and should NEVER shut off while the compressor is engaged.
Both of the above conditions can happen at the same time, so if you allow the car to idle in place with the A/C on the fans may seem to run more than the compressor, but never less.
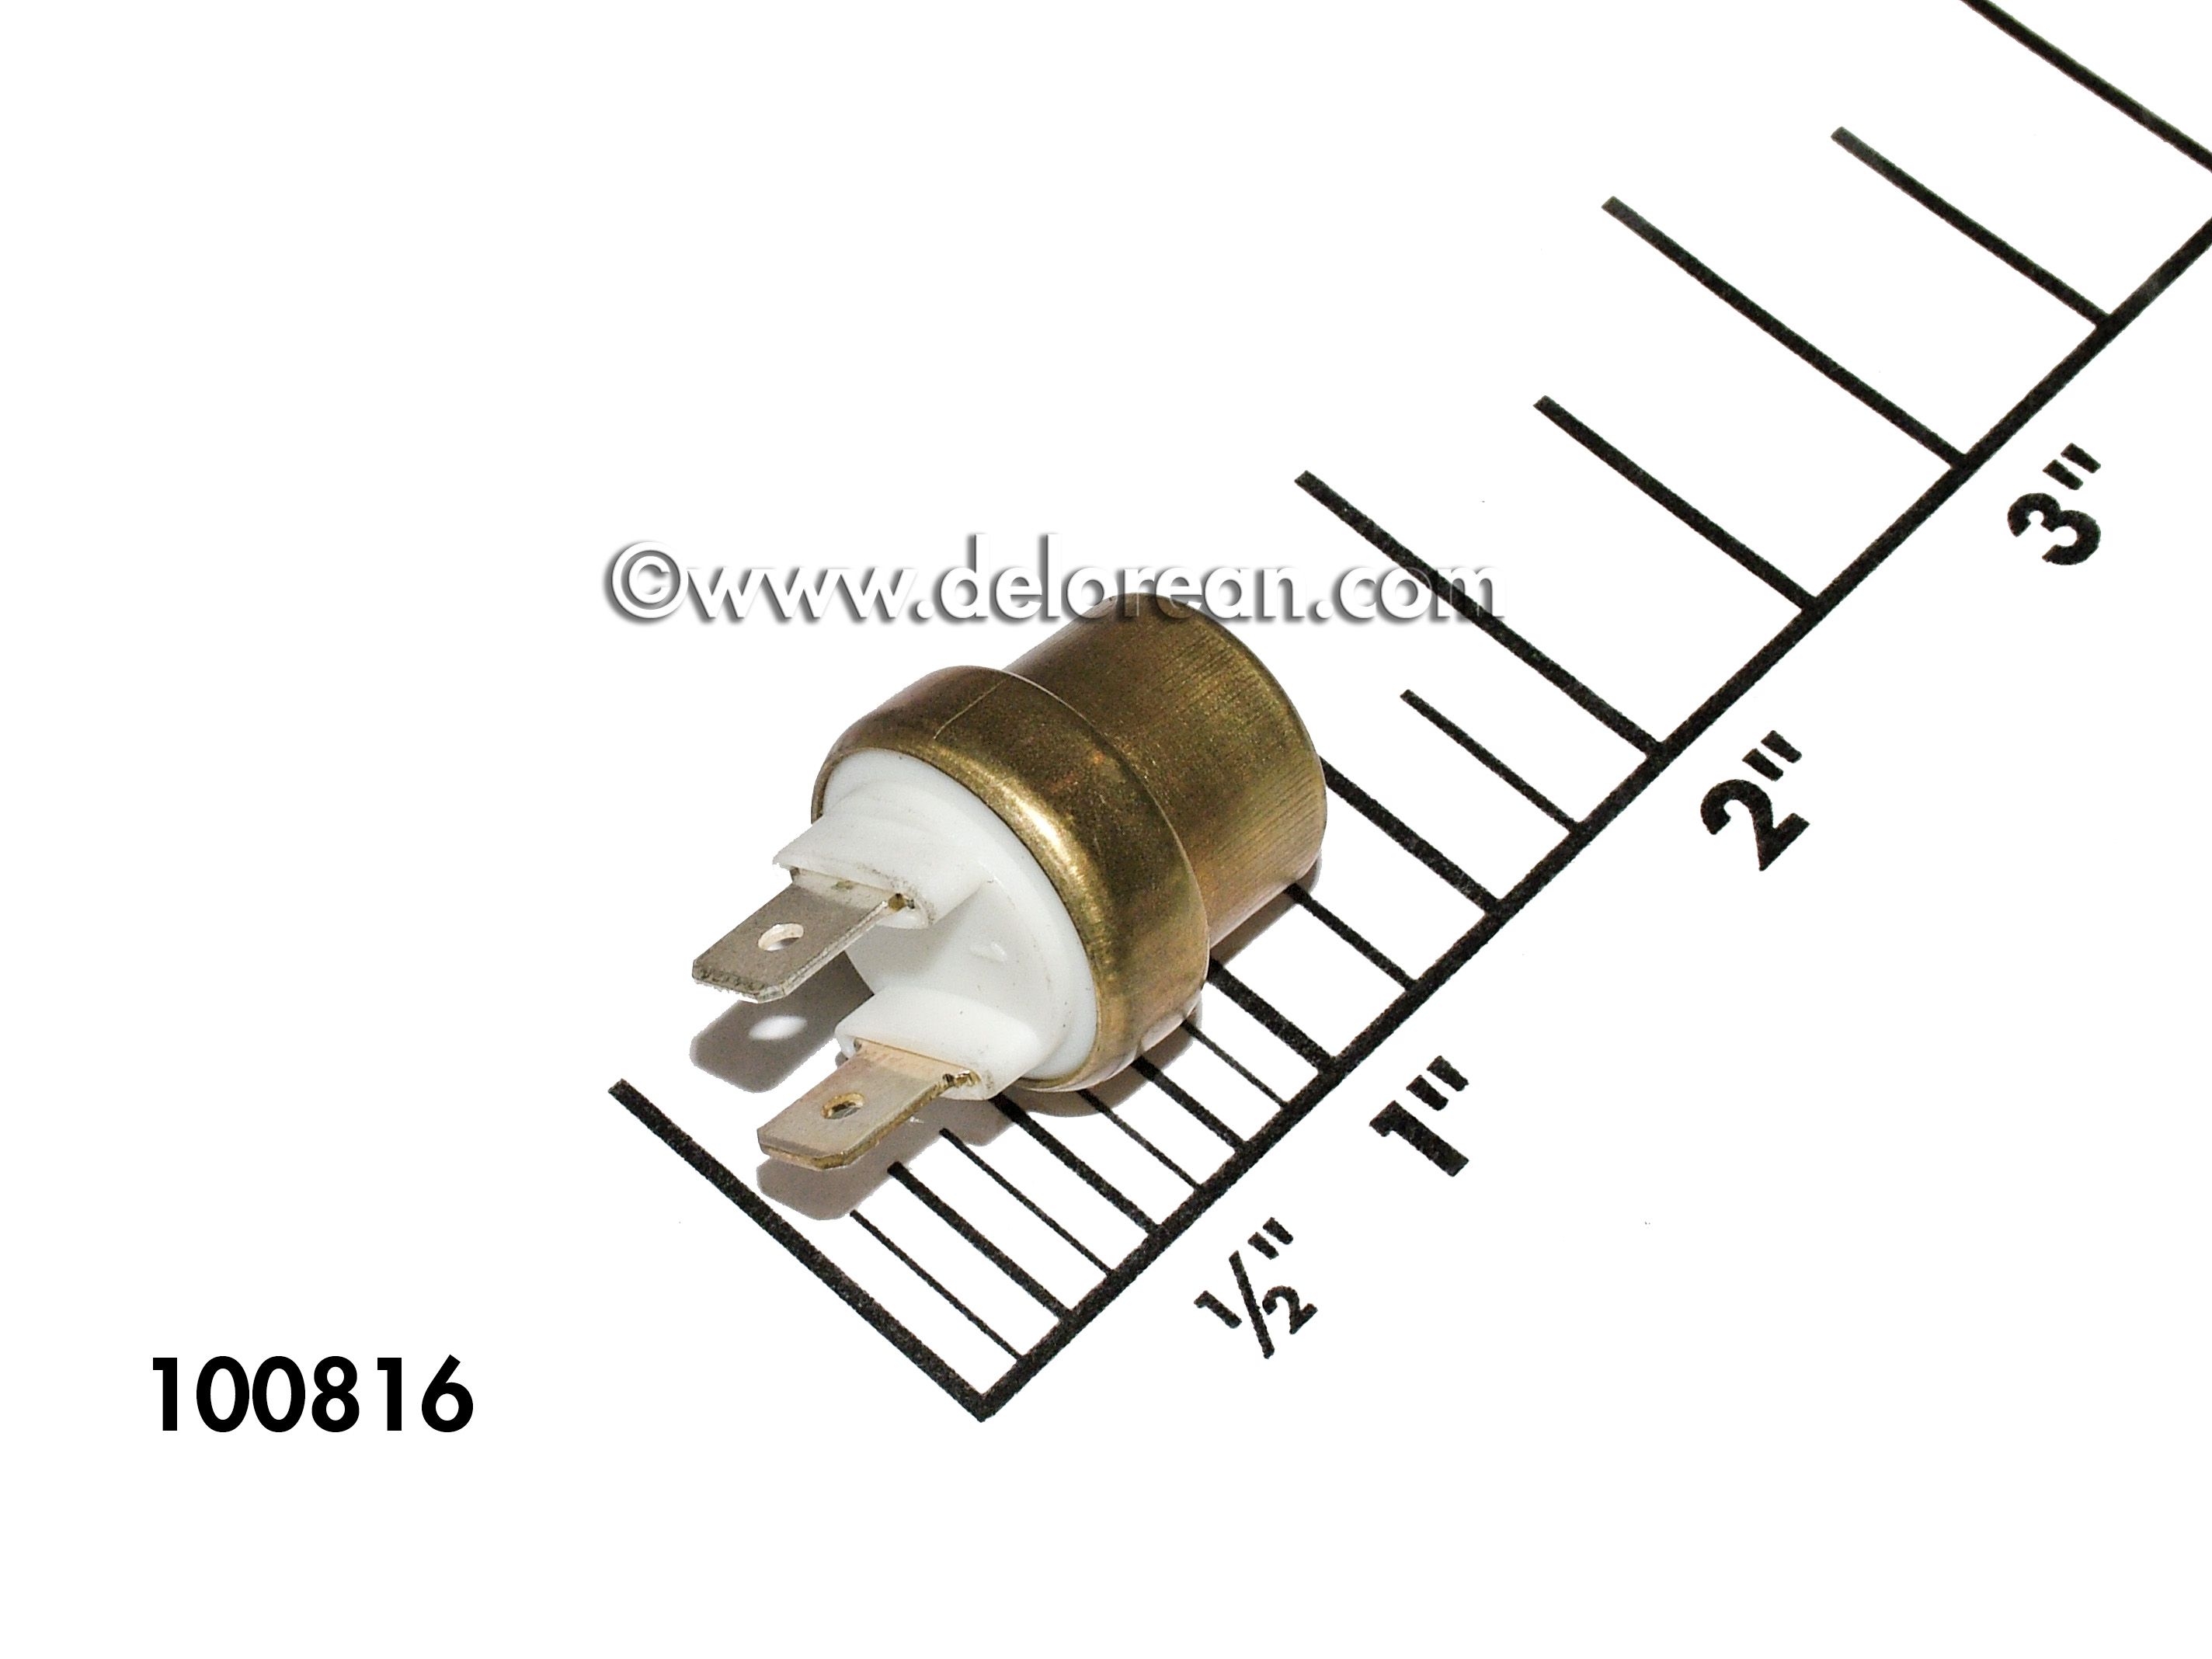 Coolant Temp Switch "Otterstat"
Non-operation of the cooling fans will cause a dramatic rise in engine temperature, leading to destructive overheating, particularly in traffic or low speed operation. Also, the A/C won't work very well, in fact it can cause the refrigerant system to overpressurize, leading to purging of refrigerant (on early cars lacking a reliefe valve, it can even cause hose failure).
The most common cause for fan failure used to be the blue Fan Fail module located in the relay compartment. It couldn't handle the current of the fan motors and would open up, disabling the fans. The factory replaced it with a wire jumper per bulletin ST-06-9/82, but now a fused jumper P/N 111102 is most commonly used. Now, the most common causes of inoperable fans are air in the cooling system or a failed temperature switch.
Before doing any electrical troubleshooting, make sure that air has been purged from the cooling system. With the system cold and the cap removed from the coolant reservoir tank, open the bleeder on the thermostat housing and let any air bubble out until coolant runs from the bleeder. We also recommend that you loosen the bleed hose that comes from the top right of the radiator and allow any air to bubble out (CAUTION do this at the other end of the hose from the radiator to avoid breaking off the plastic radiator barb on OEM radiators).
To test the electrical operation of the fans, turn the key on without starting the engine and select one of the AC positions with the mode switch. (NOTE This test assumes that the air conditioning system is charged with refrigerant and is functional.) You should hear the compressor clutch slap in the back and the fans come on in front. If the fans do not start, troubleshoot the path from the relay to the fans. Use the schematic in the Workshop Manual, or the larger full-color Wall-Size Schematic that is available. If only one fan starts, check the fused jumper in the blue receptacle.
If the air conditioning system is non-functional, OR if the fans come on with the compressor clutch, but don't come on by the time the engine reaches 220 on the gauge, the coolant temperature switch (otterstat) is suspect. With the key on, jump the two leads at the switch in the coolant pipe that runs near the left hand frame rail in the engine compartment. If the fans come on, replace the switch and seal, if they don't, check fuse #5. NOTE: On most cars the switch is only visible from underneath the car, but on early cars it is visible from above.
Understanding of this circuit can also help troubleshoot problems with the engine thermostat. If the thermostat is stuck open, the car will operate at the correct temperatures when parked and idling but will operate at too low engine temperature when going down the road. In cold weather the heater won't work very well. If someone has installed a thermostat with too high a temperature rating (or it has failed), the fans will seem to come on "late" and will never turn off, as the thermostat will stabilize the engine at a temperature higher than the turn-off setting of the coolant temperature switch.
If the fans cycle on and off but the engine still overheats, check the circuit breaker in the circuit. It will often fail and begin to trip (open) at much less than the rated load, causing the fans to turn off too early and not run long enough to cool the engine. This is the 35-40 Amp breaker shown as item 23 on the fuse box page. The breaker location can be reverse of the illustration, you are looking for the breaker with 2 wires (brown/orange and brown/slate) connected to it. CAUTION: When the breaker fails in this mode it can be hot enough to blister a finger, so be careful!
REPAIRS
Replacing a defective cooling fan is done from under the front of the car. Unfortunately the fans come out of the shroud towards the radiator, meaning that they can not be replaced without removing the whole shroud from the car. For access you need to remove (or at least disconnect) the suspension stabilizer bar at the front of the frame to provide clearance for the fan motors. Then remove the radiator duct, and the two brackets from under the radiator that actually hold the radiator in place. The radiator will be held in place by the hoses only at this point, so be sure to support it. With some dexterity, you can remove (or break) the 5 mm bolts holding everything together, and slide the fan/shroud assembly down between the radiator and the frame.
Alternatively, you can drain and disconnect the cooling hoses from the radiator and rotate the entire assembly out of the car, taking care to support the left end that will still have the refrigerant lines attached to the condenser. See the Radiatorarticle for other hints, as you may decide to replace the radiator and fans at the same time.
Replacing a defective coolant temperature switch is as simple as pulling out the old one and pressing the new one in place, and reconnecting the wires. The new switch will come with a new rubber seal. Be sure to reinstall the clip holding the switch in the pipe, OR secure it with a couple of high quality zip ties. If you work fast you will lose minimal coolant, but be sure to check/bleed/and top off the coolant as necessary.
Revised 7/23/2021